
American Clay natural plaster, drywall repairs, traditional plaster and minor stucco repairs

American Clay natural plaster, drywall repairs, traditional plaster and minor stucco repairs
Unique textures to any surfaces and accurate repairs to older traditional plaster walls and ceilings
Traditional plaster is a material similar to drywall fast
setting compounds since it becomes hard due to a chemical component. Normal all purpose joint
compound becomes hard from moisture leaving the compound. Although all purpose joint compound spreads
easy and can be used to texture, it will shrink as it drys and is not as hard as plaster or fast setting
compounds.
Traditional plaster is more of a style than material of the past due to
difficulty in obtaining plaster mix. Sanded plaster is still available for sand finish, trowel
textures and brush textures. For smooth finish textures, fast setting drywall compounds are the
closest material available.
Plasters and fast setting compounds can be applied with a hawk and trowel or drywall application tools.
However, to achieve textures other than typical drywall textures like orange-peel or knockdown, a hawk
and trowel is typically used.
These compounds can be applied to new drywall or existing drywall.

This image is of a wine room done to simulate an old structure that
once brick and had plaster applied over top which then began to fall away over time.
The finish was applied over drywall.
Thin bricks were installed to the drywall and then sanded plaster was applied between. Once dried, a faux paint artist applied aging
to the plaster.
This application shows the flexibility of plaster. It can be applied as thick as necessary with no
cracking due to the chemical hardener and the sand aggregate.
This image is the same type of application under a staircase on a different job.
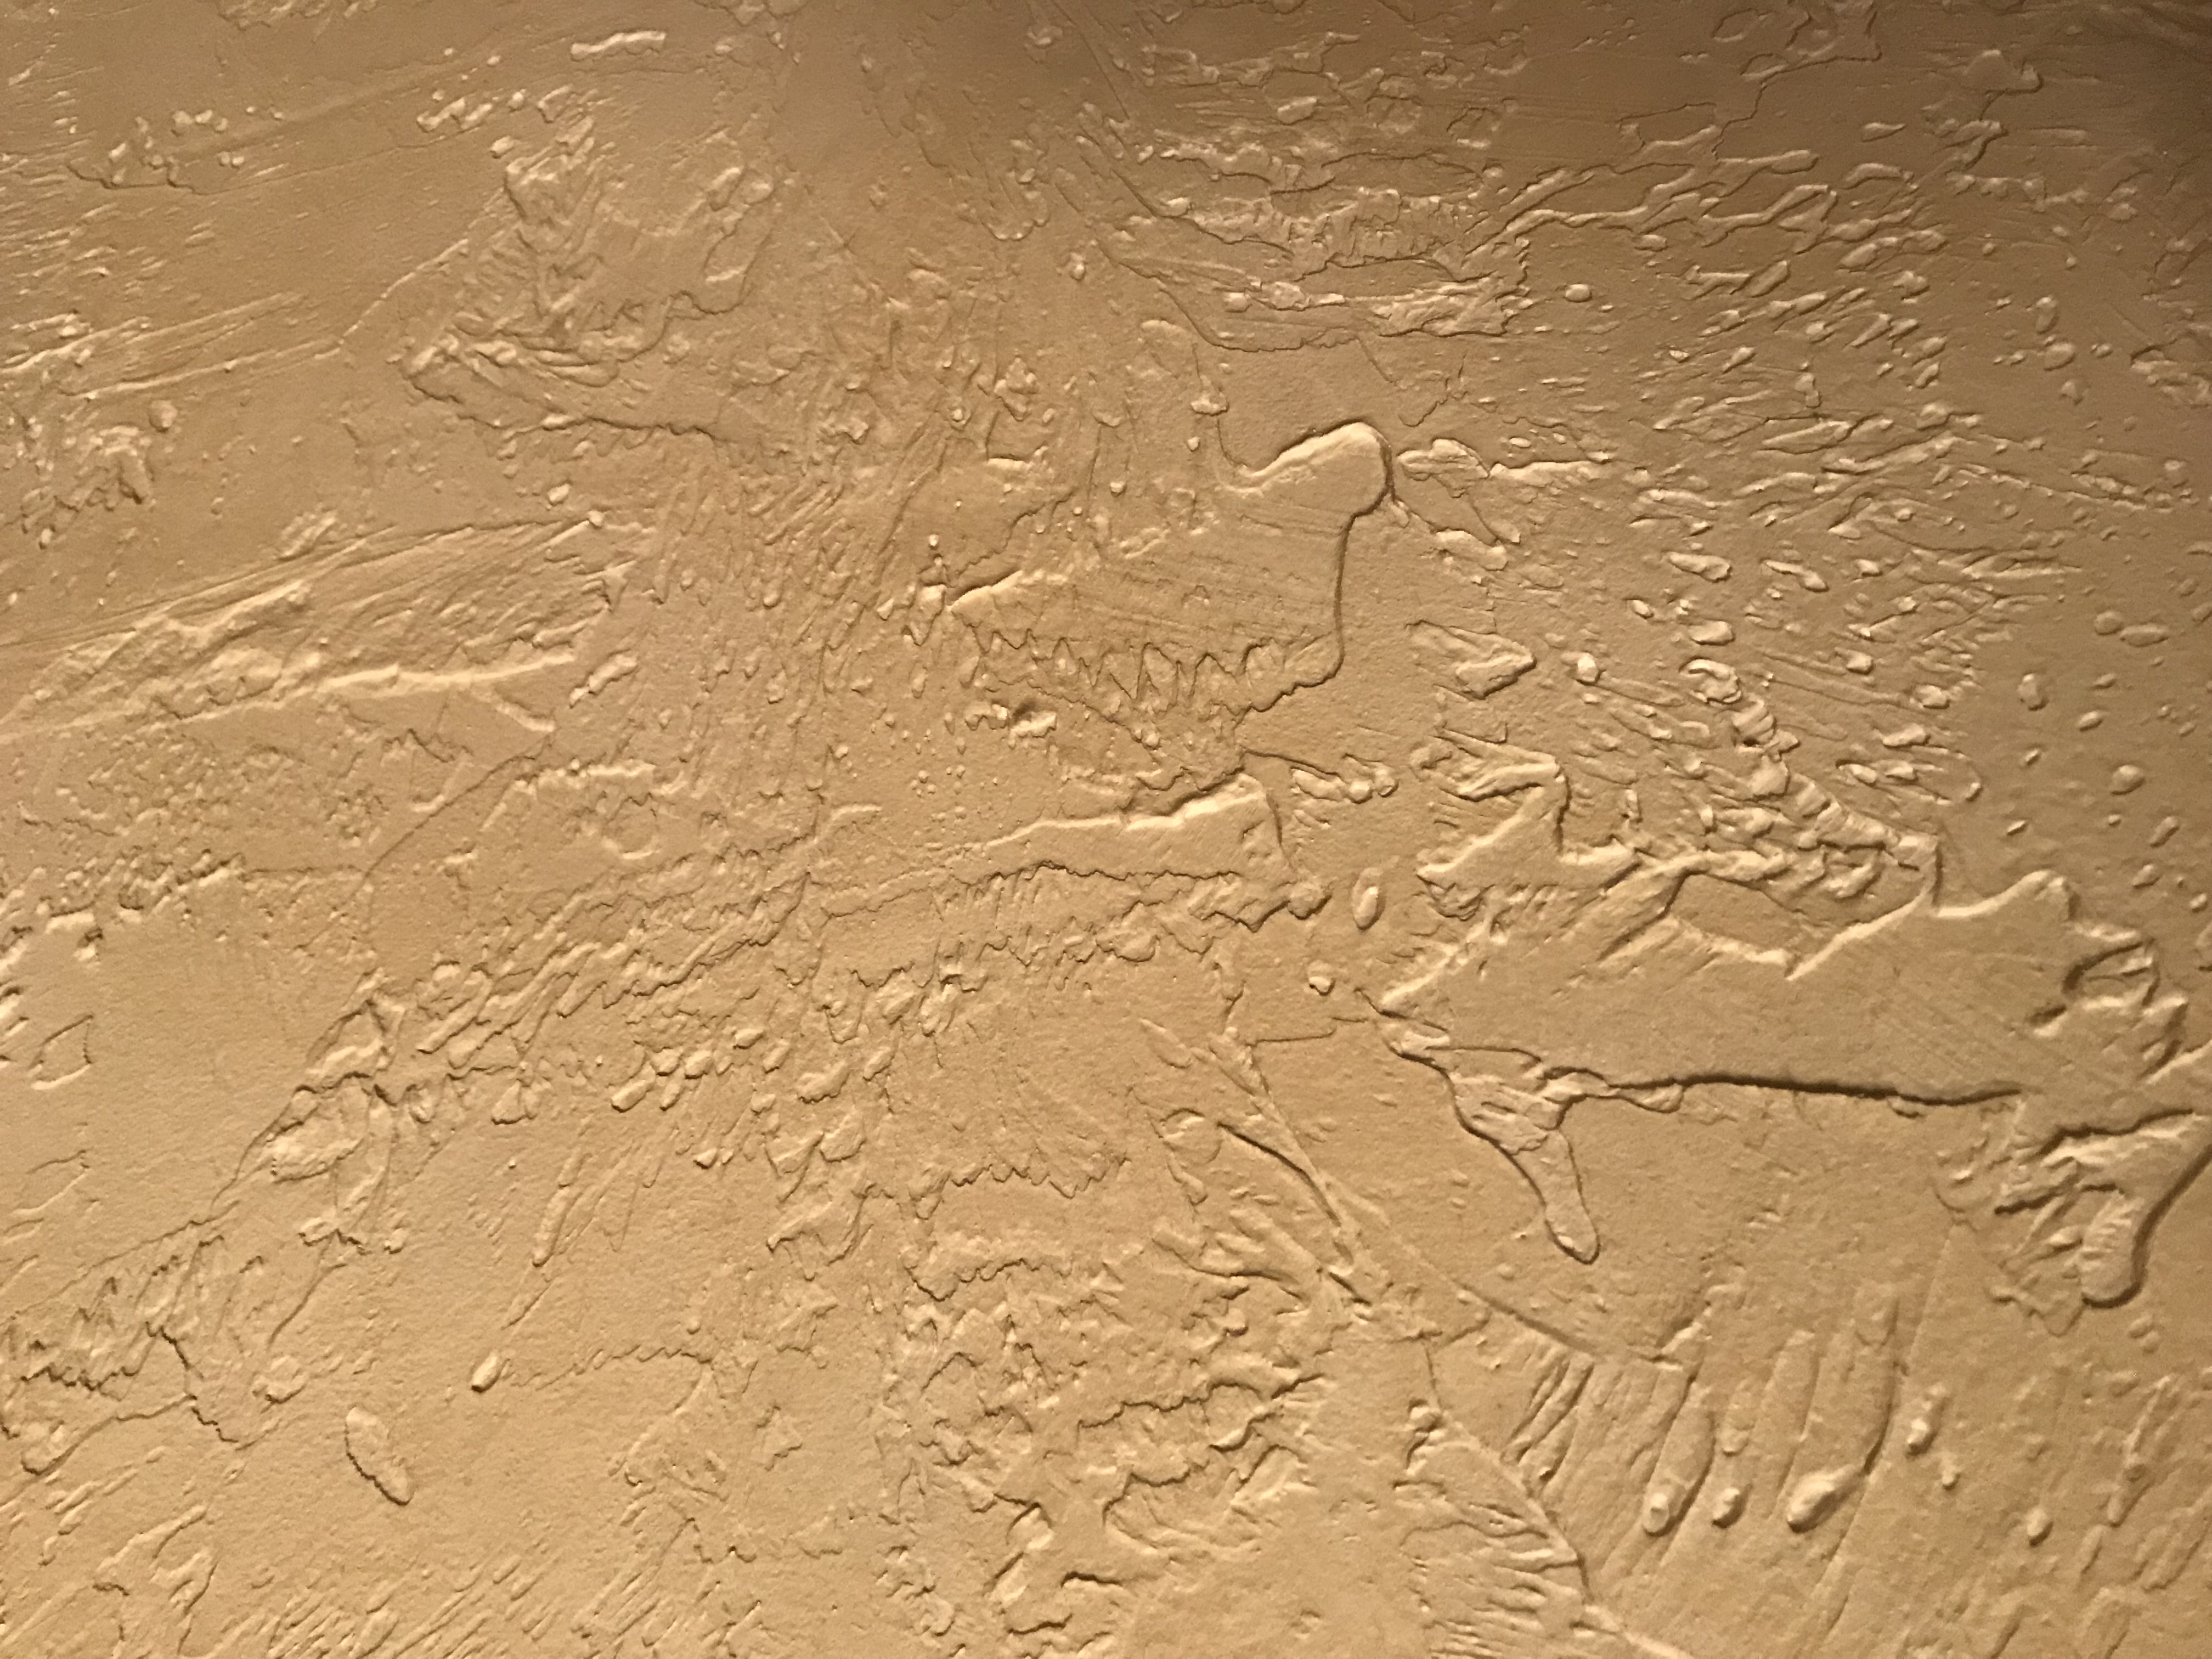
This image is a traditional plaster trowel texture. This texture is a spanish style texture that lends itself well for faux painting.
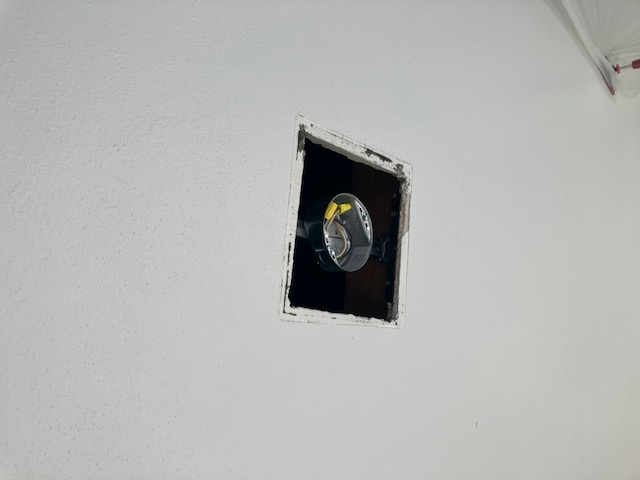
This photo and the next two are steps in a typical traditional sand finish plaster repair. A square light was removed and a ceiling fan will be installed following the repair.
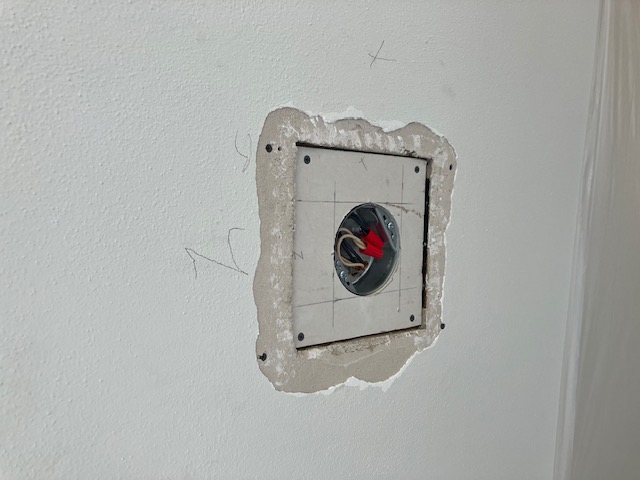
This photo shows the prep of the repair. A gypsum drywall plug is installed for the substrate. Some of the finish coat is chipped away from the perimeter so the mesh tape, base and finish plaster will not project beyond the existing finish by very much. An acylic sealer/bonder is applied to the repairs area.
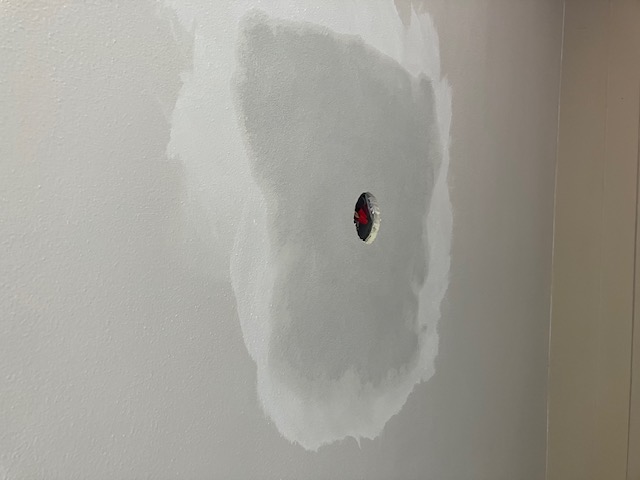
This is the completion of the finish coat application. The plaster is sponged to remove some plaster and exposing the sand aggregate while feathering the edge into the existing plaster finish. After a minimum of 7 days, the repair area is primed and painted.